I love painting furniture with chalk paint. And I love having this hobby as a creative outlet outside of motherhood. When I was pregnant with my fourth child, I did not like exposing him to dust and paint fumes of any sort, so I took a break from this outlet. But now that my littles are growing, I have broken out the paint brushes and chalk paint once again and am feeling the groove.
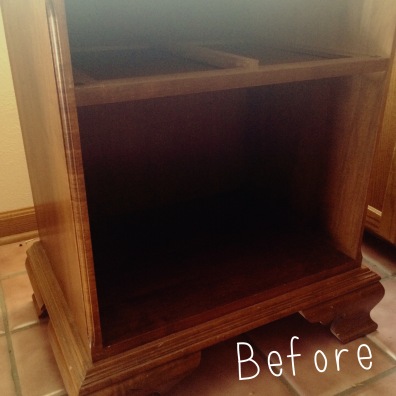
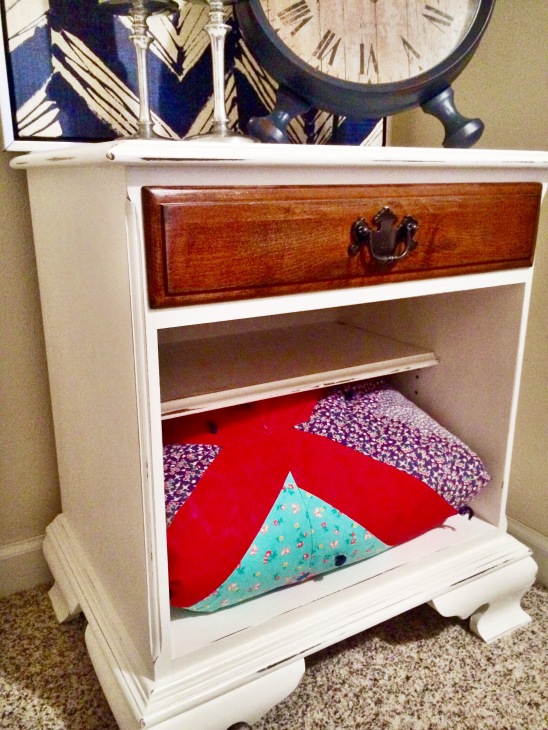
This little Ethan Allen end table (actually a duo) was purchased for a steal of a deal, $25. It is solid wood and in mint condition. The 1980’s orange color…not so much. These tables have sat in two homes in two different guest rooms waiting for me to commit to a color and to dedicate find the time to give them a makeover. This late summer, I did just that.
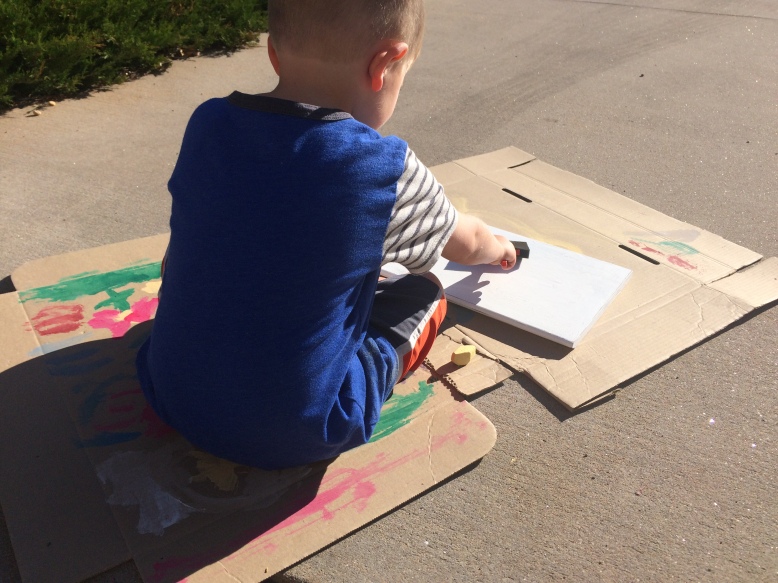
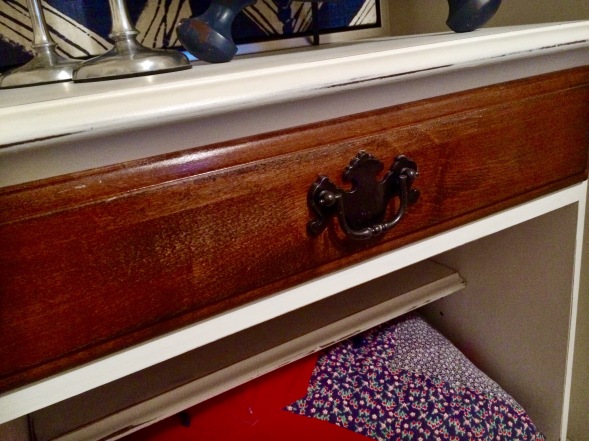
For three afternoons while my littlest guy slept, I painted away. The added bonus: I could involve my four year old with this project. You see, chalk paint is very forgiving. He has a tendency to add globs of paint instead of nice, smooth brush strokes. And this is okay with chalk paint. The end tables each have a shelf within the open part of the table, so I also knew that they would be partially concealed with the project reveal. Sanding over the painted pieces with a finer grit paper gives it a smoother appearance, and I tend to sand down to expose the under wood on the edges and corners to give my pieces a worn look. The shelves just got a little extra sanding to tame his artwork.
These sponge brushes can be purchased in bulk at many craft stores, and I recommend doing just that…buying in bulk. The idea of having to clean a second paintbrush would be discouragement for me to allow my child to participate in this project; by giving him a disposable sponge brush, there is no dilemma.
This project has a load of feel-good benefits: mother and son outside in the fresh air spending quality time, using our creative brains to transform something, and being together. No, the end tables are not perfect, and the shelves have an extra layer or six of paint that you cannot see, but we sure had a fun time updating these beauties.
If you have never worked with chalk paint, here are a few tips and steps that I have discovered:
- Be sure the paint is mixed up really well in the canister, especially if it has sat on a shelf for some time or has been exposed to a change in temperature. The cold temperature makes the paint too thick, so keep that in mind when choosing your painting location.
- Although you do not have to remove previous paint or finishes to apply chalk paint, it is important to have a smooth surface. Run your hand over the furniture and look with a keen eye…any ridges, bumps or irregular surfaces? Mine is usually the reminder that I used too much paint the last time painting and have drip marks everywhere. A light sanding does wonders.
- The joy of chalk paint is no mandatory deep sanding nor must-have priming to preserve your soon-to-be hard word. Keep in mind that whatever color is on your piece at the beginning will show through a bit after you sand in step #7.
- Clean. Clean. Clean…before you go near your piece with a paint brush. Feel free to use a hand cleaning brush or dusting brush to remove any dust, especially tucked in corners and grooves. When you paint your piece, the dust will cause problems: either bubbling or cracking.
- Invest in a solid paint brush. It makes a difference in paint application.
- Plan to give your piece 2-3 coats depending on what you are painting over…be sure the previous paint coat is totally dry before attempting another coat. It will dry a lot quicker than latex or oil-based paint, but you have to give it a bit of time, typically 20 minutes depending on how thick your coat was and the environment/temperature that you are working in. If you don’t let it dry, you’ll make a deep smudge that is added word down the road to smooth out. Some people like to lightly sand between each coat. This will give your finish a very smooth finish. I tend to be inpatient with that and have rarely done so.
- When you are satisfied with the paint coverage, take out your 220 grit sand paper and enjoy the freedom of sanding away…give your piece as much or as little worn appeal to your desire. I personally love the contrast in finish. I tend to sand in a circular motion but do hit the edges up and down.
- Remove all of the dust again. Use cheese cloth or a damp paper towel or hand brush…just get the dust off.
- I have finished chalk-painted pieces with both wax and polyacrylic sealer. Pros and cons to both. The biggest benefit to wax is the deepening of the chalk paint color. For this one I brushed on two light coats of polyacrylic sealer with a disposable brush, and then followed up with several spray coats (especially helpful in the interior portion of these end tables). I recommend following the directions on the cans of these products.
Painting with your children tips:
- Buy disposable, cheap foam brushes.
- Lay out their work surface with cardboard underneath. Newspaper tends to stick to the painted pieces and can be a beast to get off.
- Give them light instructions but breathe deeply and embrace what they are about to create.
- If you are worried about the imperfection of their work, find a side, shelf or piece of the furniture that may not be as visible.
- Remind yourself that you can always sand down the chalk paint…of course, when your child is not looking:)


I’m loving all the posts! Great advice for chalk paint!
LikeLike
Thanks, Melissa! We are loving this blog world. Thanks for joining us.
LikeLike
[…] And when I can do these projects in the throws of active motherhood, all the better. See this post: An end table makeover with an added bonus. I have been on a mission over the last two years to convert an empty and unwelcoming basement into […]
LikeLike
[…] And when I can do these projects in the throws of active motherhood, all the better. See this post: An end table makeover with an added bonus. I have been on a mission over the last two years to convert an empty and unwelcoming basement into […]
LikeLike